Skip to content

St. Lucia Buns

St. Lucia buns and hot chocolate with marshmallows

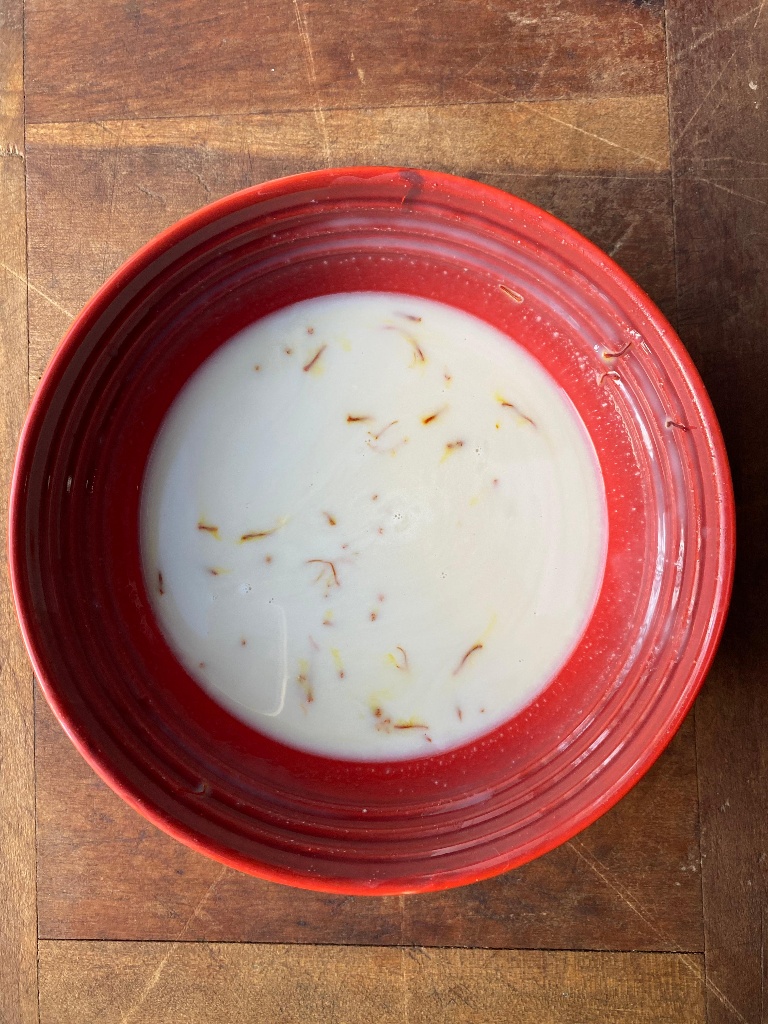
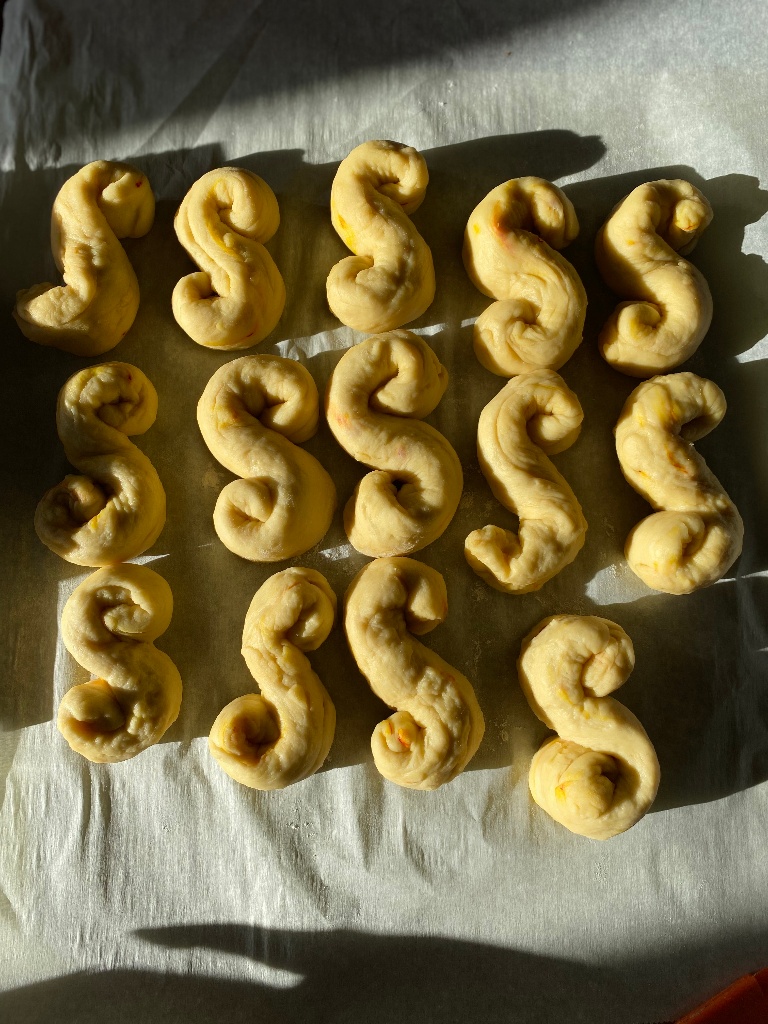
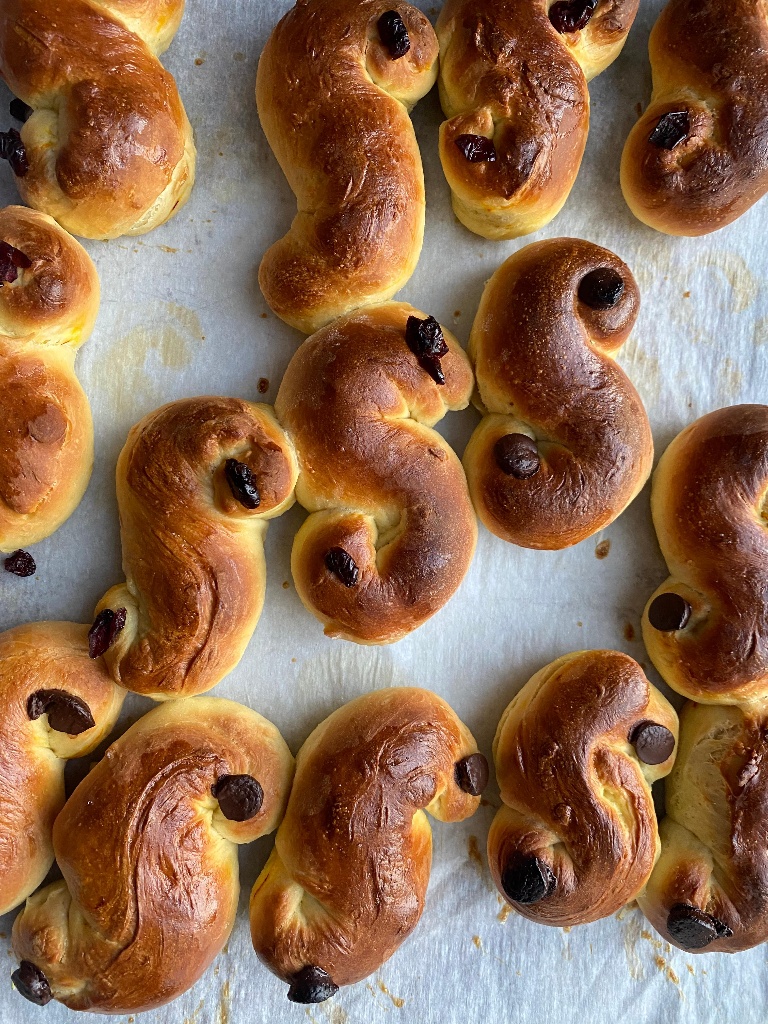
I love the folklore and history surrounding winter solstice celebrations. It’s all about the light for me and the promise of the days getting longer is worth a celebration! There are many stories behind the origin and symbolism of St. Lucia buns, but I have read that some believe the addition of saffron is to symbolize the sun and the light. They are shaped in various forms, but the traditional spiral “S” shape is an ancient symbol for the sun and life.

Try whipping up a batch of these buns and freeze them ahead for Christmas morning or to have with your coffee on December 21st, the shortest day of the year! The warm yellow color and earthy flavor will brighten your day!


Saffron-infused milk


Dough formed into S shape


Finished St. Lucia buns


St. Lucia Buns

Ingredients

  • ¾ cup milk or non-dairy milk (175ml)
  • ½ teaspoon saffron threads
  • 1 teaspoon plus ¼ cup (50g) white granulated sugar
  • 1 (¼-ounce) packet active dry yeast (check the expiration date on the package to make sure it's still good!)
  • 3½ to 4 cups (490g to 570g) all-purpose flour
  • ¾ teaspoon kosher salt
  • The seeds from 3 cardamom pods, ground, optional
  • ¼ cup (4 tablespoons, 56g) unsalted butter or non-dairy butter, softened
  • ¼ cup sour cream (or full fat yogurt)
  • 2 large eggs
  • Raisins or chocolate chips
  • 1 egg, beaten with 1 tablespoon of water

Instructions

  1. In a small pot, heat the milk, saffron, and 1 teaspoon of sugar together until the milk is steamy. Remove from heat and stir to dissolve the sugar. Let cool until about 115°F, or warm to the touch, but not hot.
  2. Sprinkle the yeast over the warm saffron-infused milk, and let sit for 5 to 10 minutes until foamy.
  3. In the bowl of a stand-up mixer whisk together 3 1/2 cups (490g) of the flour, remaining 1/4 cup of sugar, salt and cardamom if using
  4. Make a well in the center of the flour and add the yeast milk saffron mixture, the eggs, the butter, and the sour cream
  5. Mix the ingredients until well incorporated
  6. Switch to the dough hook of your mixer (if using, otherwise knead by hand). On low speed start to knead the dough. Slowly add additional flour, a tablespoon at a time, kneading to incorporate after each addition. Do this until the dough is still a little sticky to the touch, but does not completely stick to your hands when you handle it.
  7. Shape the dough into a ball and place in a large bowl. Cover with plastic wrap. (Note at this point you can make ahead and refrigerate overnight if you wish.)
  8. Let sit in a warm place for 1 to 2 hours, until the dough has doubled in size. (One way to tell that the dough is ready is that you poke your finger in it and it takes quite a bit of time for the indentation left by your finger to go away.)

    Try letting your dough rise on a radiator or in a microwave after you boil a cup of water in it. Anywhere that’s warm and draft free.

  9. When the dough has doubled in size, gently press it down and knead it a couple of times. Break off a piece and form it into a ball about 2 inches wide (60 to 70 grams if you are weighing). Roll the ball out into a snake, about 14 inches long. Then curl the ends in opposite directions, forming an "S" with spirals at each end. Place on a lined baking sheet and repeat with the rest of the dough.
  10. Cover with plastic wrap and place in a warm spot until the dough shapes double in size, 30 minute
  11. Brush with egg wash, place raisins or chocolate chips on the curled part of the “s” shape of the buns
  12. Preheat oven to 400°F (205°C). Using a pastry brush, brush some beaten egg over the tops and sides of the uncooked buns.
  13. Bake for about 10 to 11 minutes (turning halfway through cooking to ensure even browning), until the buns are golden brown.
  14. Remove from oven and let cool for 5 minutes before eating.

Leave a comment